

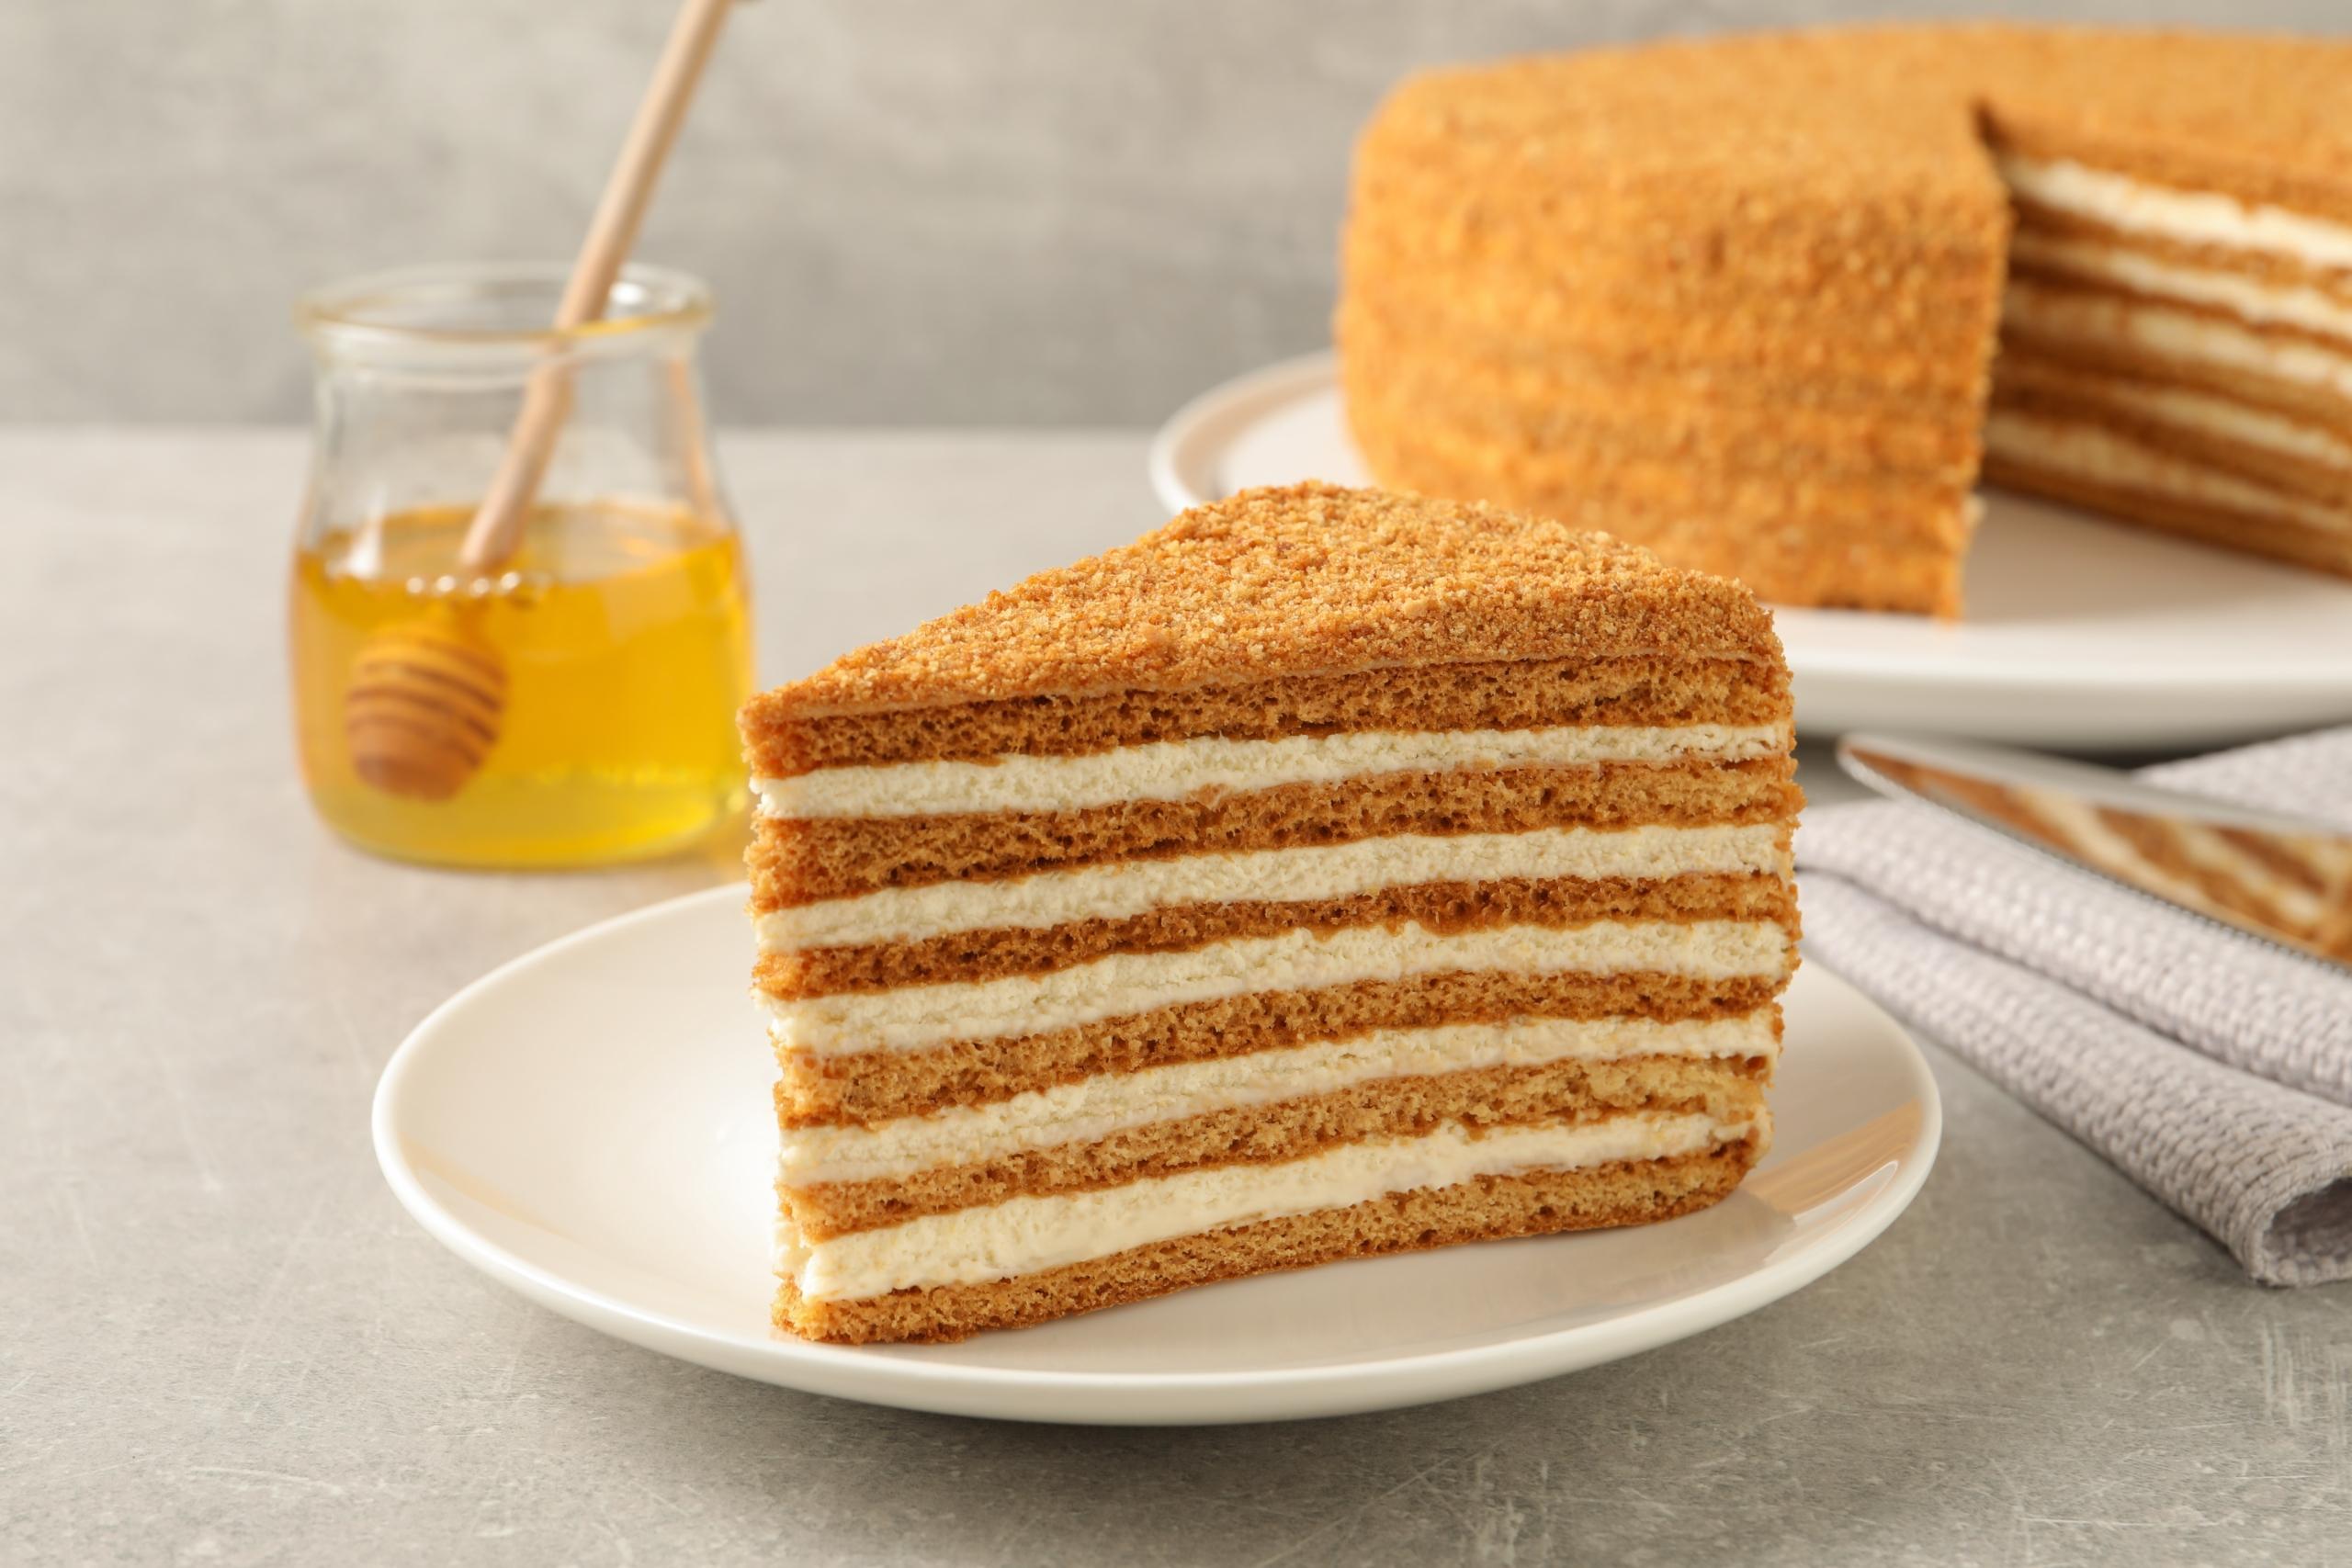
Medovik is a true culinary symbol of tenderness, comfort, and homely warmth. It is prepared for holidays, family celebrations, and simply to delight loved ones. This cake is famous for its rich taste: thin layers with a honey aroma soaked in delicate cream create harmony that conquers from the very first bite.
In this article, you will find:
- the history of the cake,
- the list of ingredients,
- a step-by-step recipe,
- tips on serving and storage,
- cream variations and decoration ideas.
📖 The History of Medovik
Legend has it that Medovik appeared at the court of Emperor Alexander I. His wife, who disliked honey, unexpectedly fell in love with this dessert when the court chef made a cake with thin honey layers and airy cream. Since then, Medovik has become popular in Russian cuisine and spread far beyond its borders.
🥄 Ingredients
To prepare the classic Medovik, you will need the following products:
For the cake layers:
- 2 tbsp honey (preferably buckwheat or floral)
- 150 g sugar
- 100 g butter
- 2 eggs
- 1 tsp baking soda
- 350–400 g flour
For the cream:
- 500 ml sour cream (20% fat or higher)
- 150–200 g powdered sugar or sugar
- 200 ml heavy cream (optional, for extra lightness)
💡 Tip: some cooks use custard or buttercream, but sour cream filling is considered the classic.
👩🍳 Step-by-Step Recipe
1. Making the dough
- In a saucepan, combine honey, sugar, and butter.
- Place over a water bath and stir until smooth and golden.
- Remove from heat, add the eggs, and mix quickly.
- Add baking soda — the mixture will foam and increase in volume.
- Gradually add flour, kneading a soft, slightly sticky dough.
2. Forming the cake layers
- Divide the dough into 6–8 portions.
- Roll out each piece into a thin circle, 20–24 cm in diameter.
- Bake each layer in the oven at 180°C (350°F) for 5–7 minutes until golden.
- While still hot, trim the layers using a plate as a template.
- Save the trimmings — they will be used for decoration.
3. Preparing the cream
- Whip sour cream with sugar or powdered sugar until fluffy.
- Optionally, add whipped cream for a lighter texture.
- The cream should be thick and stable.
4. Assembling the cake
- Stack the layers, generously spreading cream between each.
- Cover the top and sides of the cake with cream as well.
- Crush the trimmings and sprinkle them over the cake.
5. The final touch
Let the cake rest in the refrigerator for 6–8 hours, ideally overnight.
🎂 Decoration
Although the classic Medovik is decorated only with crumbs, you can add a personal touch:
- sprinkle with walnuts or almonds,
- add shredded coconut,
- decorate with fresh berries or fruits,
- drizzle with caramel or melted chocolate.
💡 Cooking Tips
- Flour: sift it for lighter layers.
- Layers: don’t overbake — they should remain slightly soft.
- Cream: use chilled sour cream and cream for better whipping.
- Soaking: let the cake sit overnight for the best tenderness.
🔀 Variations
- With custard – the layers are soaked in vanilla custard for a richer flavor.
- With buttercream – for those who prefer denser cakes.
- Light version – can be made with yogurt cream.
- Chocolate Medovik – add a bit of cocoa to the dough.
🧾 Useful Information
- Cooking time: about 1.5–2 hours (not counting soaking time).
- Difficulty: medium.
- Servings: 10–12 slices.
- Storage: up to 3–4 days in the refrigerator.
🌟 Conclusion
Medovik is not just a cake but a whole story in every slice. It combines the aroma of honey, the softness of the layers, and the tenderness of the cream. Thanks to simple ingredients and endless variations, this dessert is beloved in many families.
If you want to delight your loved ones or prepare a cake for a special occasion — try Medovik. It requires patience, but the result is always worth the effort!